
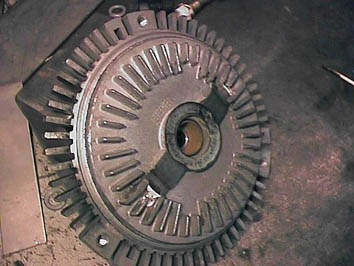
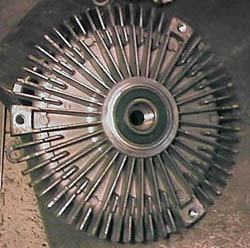
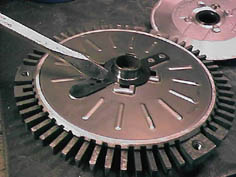
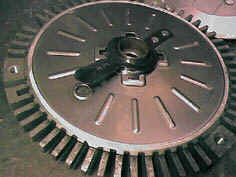
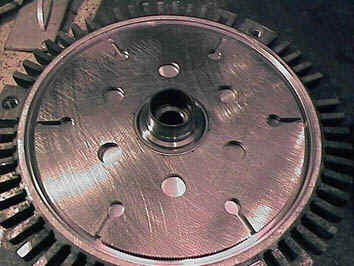
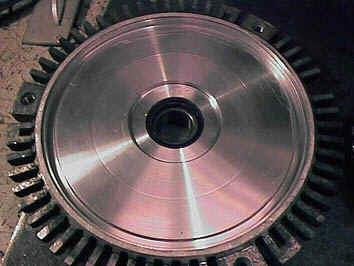
Viscous Fan Coupling
Front
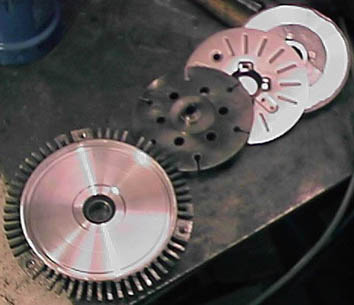
Back
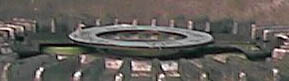
Bimetallic strip in cold closed position
Open hot position
(blow lamp assistance;-)
Front covering removed
- The liquid inside the unit was totally clear silicone (thanks Lars-Ove for this
info) has the viscosity
- of treacle. There cannot be any wear on the components, I think that the oil has seeped
out of the seals.
- Valve spring plate closed by cold bimetallic strip
open hot position
- pushing through brass pin.
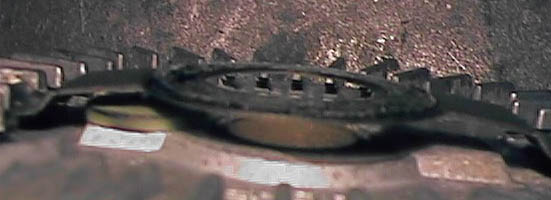
Back view of valve plate behind front cover.
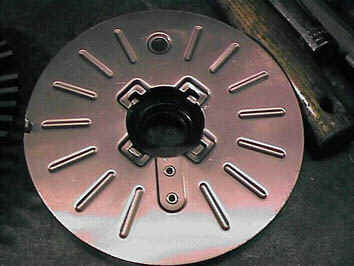
"Friction" plate behind valve plate.
Back cover with "friction" plate removed"
- The bimetallic strip on outside of cover springs outwards as it heats up and
- allows the brass pin to move with it out of the cover. This in turn releases the
- pressure on the spring valve within the unit and exposes a hole which allows
- oil through it from the centre cavity. The unit resembles a clutch assy with
- friction disc and plates either side. I suppose the loss of oil from within the
- inner cavity where the "friction" disc is, must create the friction which
increases
- the turning resistance. I'll bring the unit with me to Billing, however as Ian F said
- it is a loss of oil which stops the unit from working. Replacement of the oil and
- seals is impossible as the unit has to be virtually destroyed in disassembly.
IMHO.............;-)
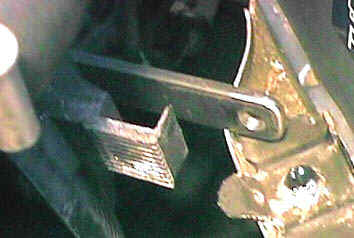
Coupling Removal
- The coupling can be removed and replaced without removing the
radiator or cowling.
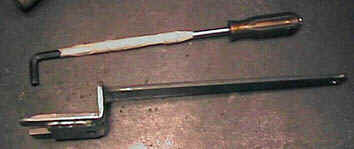
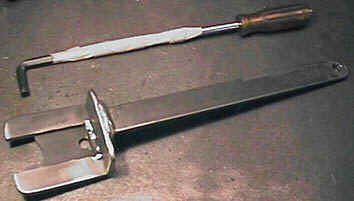
- Use a std 8mm a/f allen key spanner and extend its length using
1/4" drive socket tools.
- I taped mine so that I did'nt have to struggle picking them up if
they dropped off.
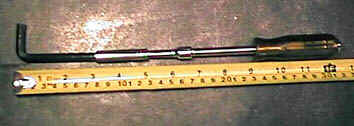
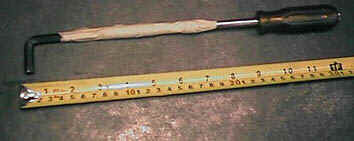
- The other tool is a large spanner for holding the water pump shaft in
place. This can be made
- from various materials laying around your workshop ;-) It is
cranked which will allow the
- radiator cowl to push back to give access to the coupling.
Alternatively you could buy a std 32mm a/f spanner.
Position the water pump spanner.The end is long enough to rest on
the battery tray so that you don't have to hold it.
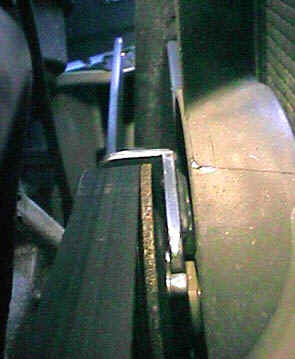
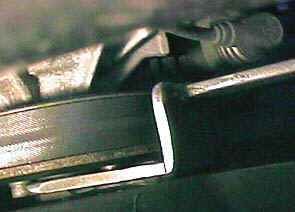
Position the cowl back far enough to give access to the coupling
allen bolt.
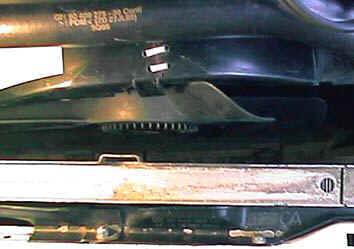

Remember the bolt is left hand thread !!

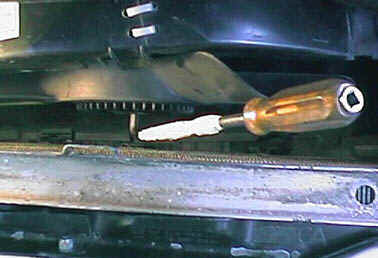
- At this point I must stress that I have not actaully undone the bolt
or taken off the coupling, I'll be doing this very
- shortly when I get the new coupling.
